有了圖形化整合,用戶可以方便的設定備份功能,以及設定備份排程,並且檢視備份紀錄。
以下紀錄操作的筆記。
首先,要先有一個安裝好的 PEM 7.12 版服務。以及一個被監控的 PGSQL 資料庫主機,這邊適用的資料庫版本,建議為 PGSQL 10 (或對等的企業版)以上,會有比較完整的功能支援。
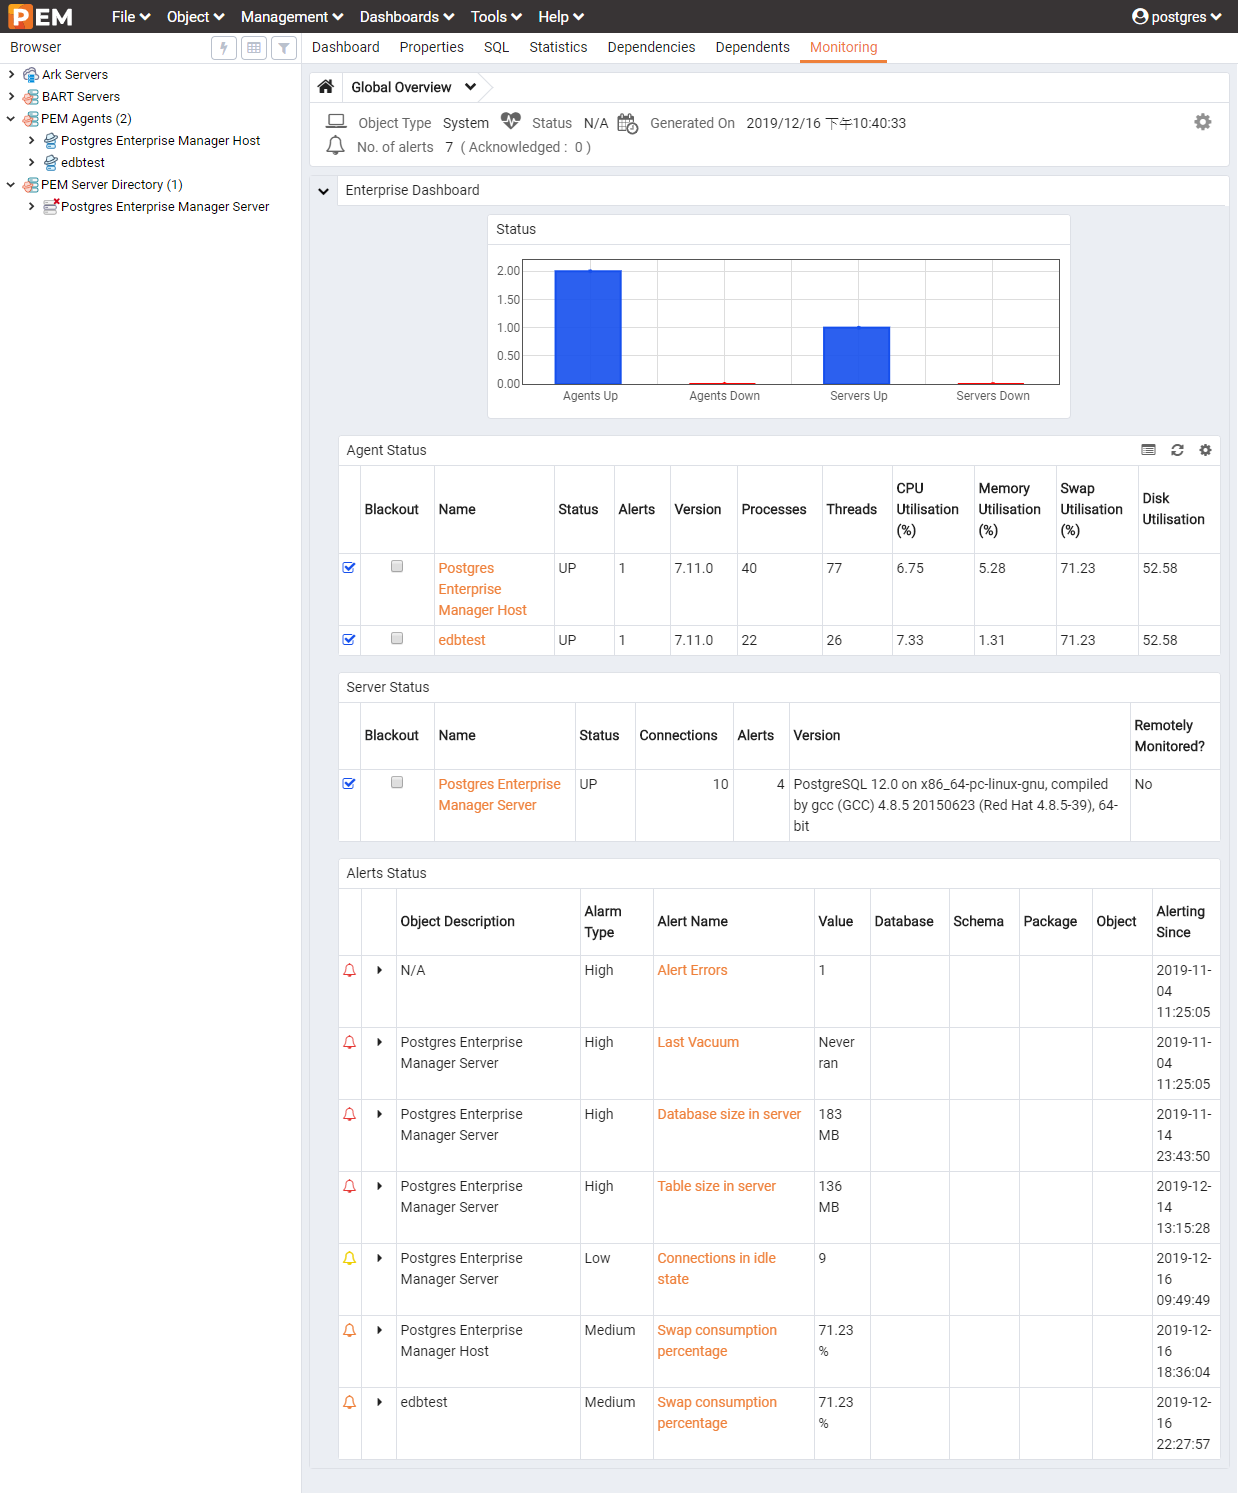
這邊在 LXD 環境中準備完這兩個環境。其中 pem 環境啟動了 PEM Server 服務;而 edbtest 裡面則是運行 EDB 12.1 版與 PEM 監控服務,並安裝了備份軟體 BART。
此外,LXD 環境裡面要自行安裝 openssh-server 並調整。
lab@lxdlab:~$ lxc list pem
+------+---------+----------------------+-----------------------------------------------+------------+-----------+
| NAME |  STATE  |         IPV4         |                     IPV6                      |    TYPE    | SNAPSHOTS |
+------+---------+----------------------+-----------------------------------------------+------------+-----------+
| pem  | RUNNING | 10.236.247.32 (eth0) | fd42:b925:969f:cf73:216:3eff:fe40:4c8d (eth0) | PERSISTENT | 0         |
+------+---------+----------------------+-----------------------------------------------+------------+-----------+
lab@lxdlab:~$ lxc list edbtest
+---------+---------+-----------------------+-----------------------------------------------+------------+-----------+
|  NAME   |  STATE  |         IPV4          |                     IPV6                      |    TYPE    | SNAPSHOTS |
+---------+---------+-----------------------+-----------------------------------------------+------------+-----------+
| edbtest | RUNNING | 10.236.247.243 (eth0) | fd42:b925:969f:cf73:216:3eff:fe5e:c36c (eth0) | PERSISTENT | 0         |
+---------+---------+-----------------------+-----------------------------------------------+------------+-----------+
lab@lxdlab:~$
lab@lxdlab:~$ lxc exec edbtest -- rpm -qa | grep edb
edb-as12-server-docs-12.1.2-1.rhel7.x86_64
edb-bart-2.5.1-1.rhel7.x86_64
edb-as12-libicu-53.1-1.rhel7.x86_64
edb-as12-server-llvmjit-12.1.2-1.rhel7.x86_64
edb-as12-server-client-12.1.2-1.rhel7.x86_64
edb-as12-server-core-12.1.2-1.rhel7.x86_64
edb-as12-server-plperl-12.1.2-1.rhel7.x86_64
edb-as12-server-sslutils-1.2-1.rhel7.x86_64
edb-as12-server-plpython-12.1.2-1.rhel7.x86_64
edb-as12-pgagent-4.0.0-1.rhel7.x86_64
edb-as12-server-sqlprotect-12.1.2-1.rhel7.x86_64
edb-as12-server-devel-12.1.2-1.rhel7.x86_64
edb-as12-server-12.1.2-1.rhel7.x86_64
edb-pem-agent-7.12.0-2.rhel7.x86_64
libicu-edb-53.1-11.rhel7.x86_64
edb-as12-server-libs-12.1.2-1.rhel7.x86_64
edb-as12-server-contrib-12.1.2-1.rhel7.x86_64
edb-as12-server-parallel-clone-1.5-1.rhel7.x86_64
edb-as12-server-indexadvisor-12.1.2-1.rhel7.x86_64
edb-as12-server-sqlprofiler-4.0-1.rhel7.x86_64
edb-as12-server-pldebugger-1.1-1.rhel7.x86_64
edb-as12-server-cloneschema-1.10-1.rhel7.x86_64
edb-as12-server-pltcl-12.1.2-1.rhel7.x86_64
lab@lxdlab:~$
lab@lxdlab:~$ lxc exec edbtest -- yum install -y openssh-server
lab@lxdlab:~$ lxc exec edbtest -- sed -e "s/^UsePAM yes/UsePAM no/g" -i /etc/ssh/sshd_config
lab@lxdlab:~$ lxc exec edbtest -- chkconfig sshd on
lab@lxdlab:~$ lxc exec edbtest -- service sshd start
lab@lxdlab:~$
在設置圖形功能整合之前,需要先進入 edbtest 裡面作一點設定。
首先是建立 ssh 金鑰:只要針對資料庫運作帳號(預設為 postgres 或是 enterprisedb)即可。
這邊已經調整 /etc/hosts 內容,讓 ssh 可以將 hostname 認成自己的 IP
lab@lxdlab:~$ lxc shell edbtest
[root@edbtest ~]# passwd enterprisedb
[root@edbtest ~]# su - enterprisedb
bash-4.2$ ssh-keygen
bash-4.2$ ssh-copy-id edbtest
bash-4.2$ exit
[root@edbtest ~]# passwd -d enterprisedb
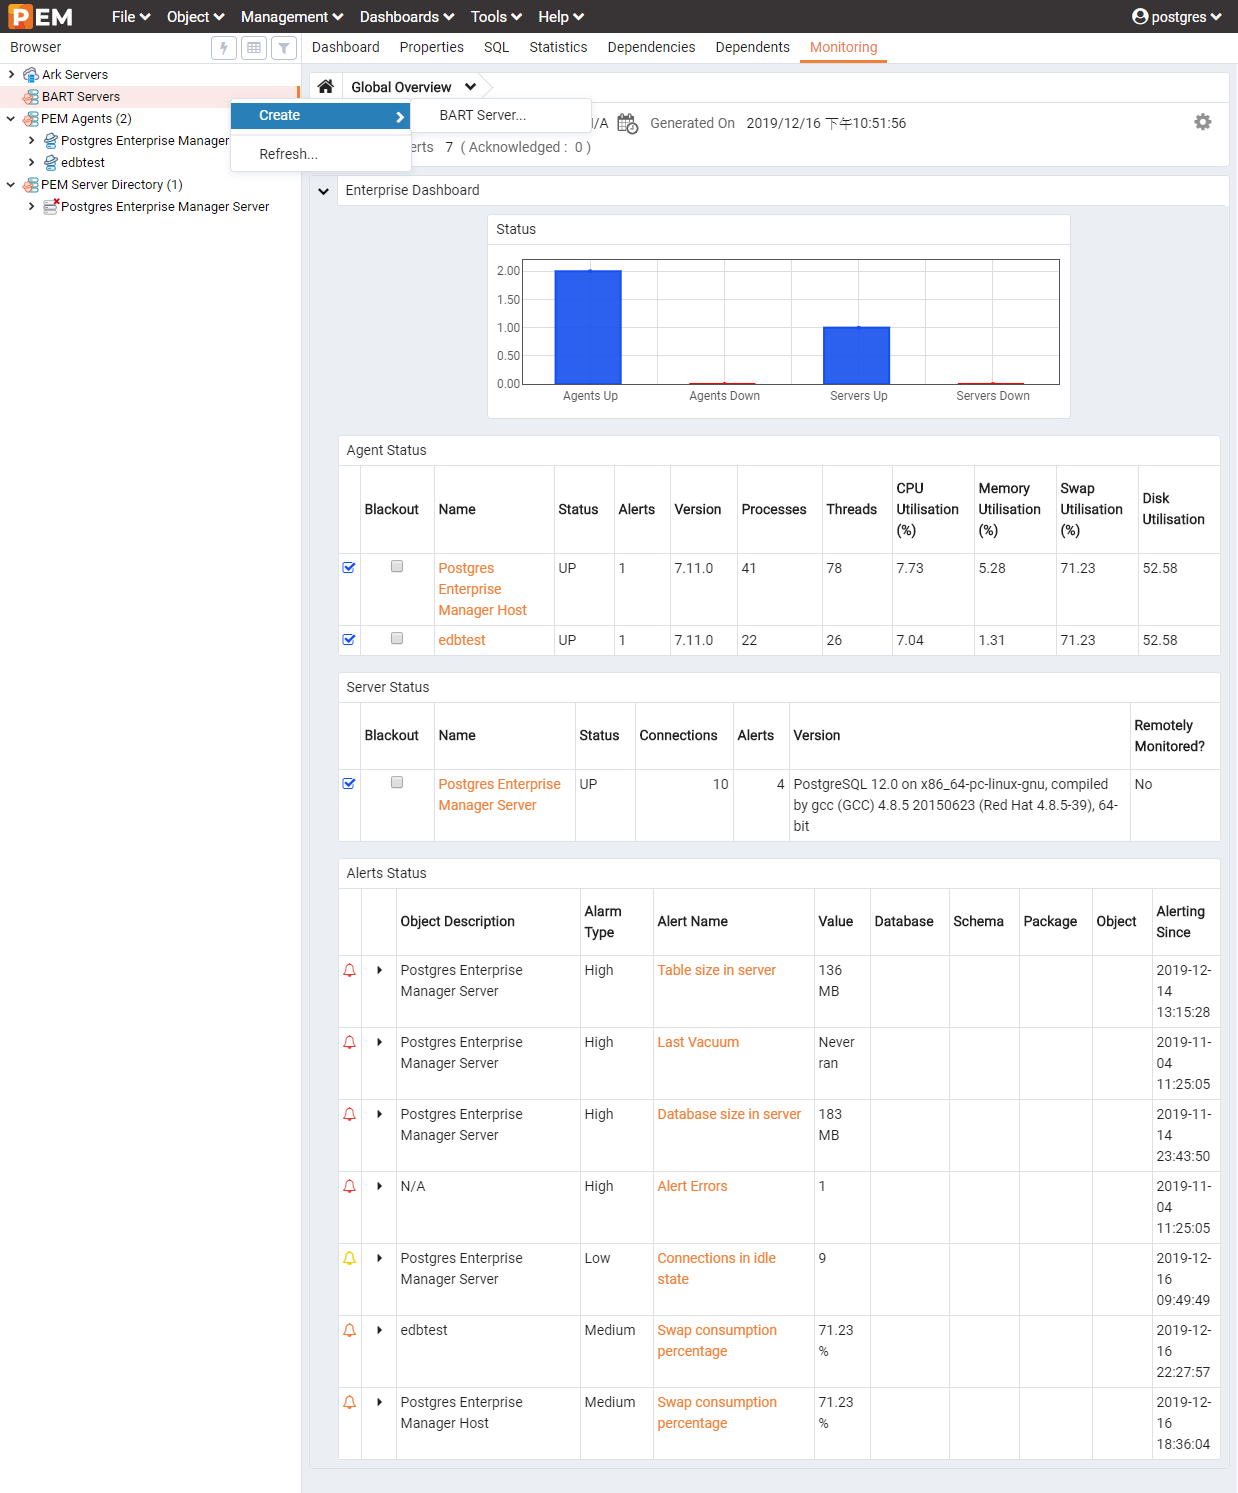
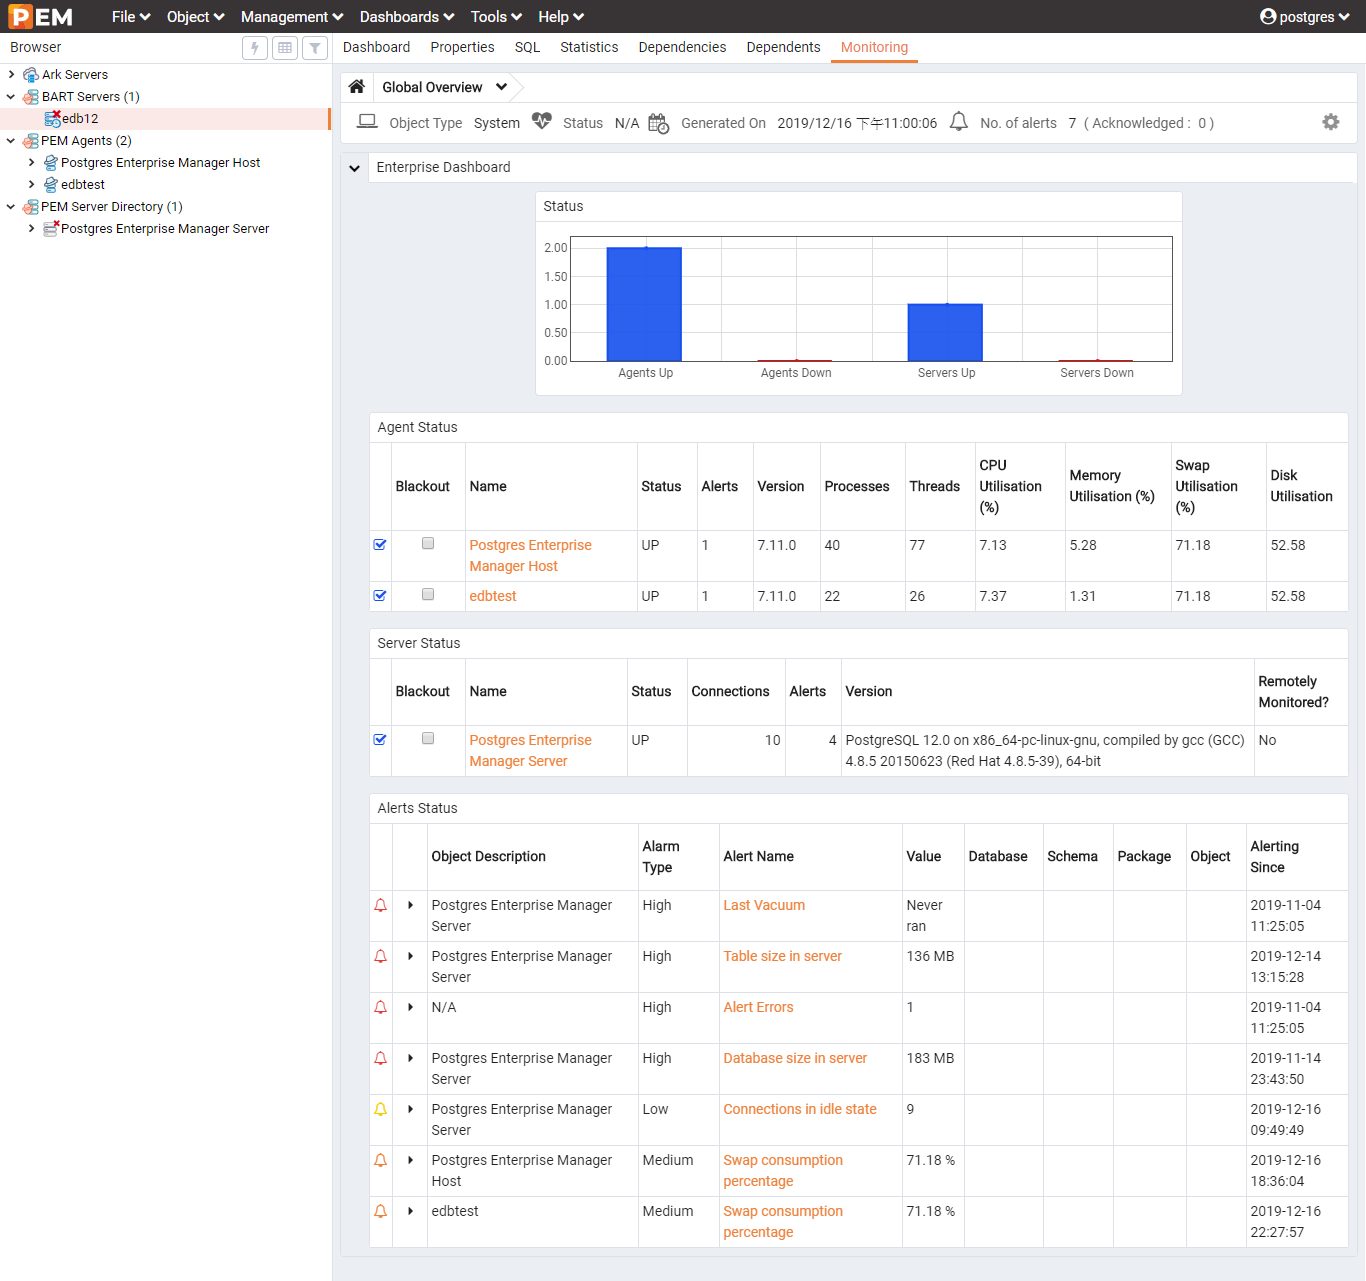
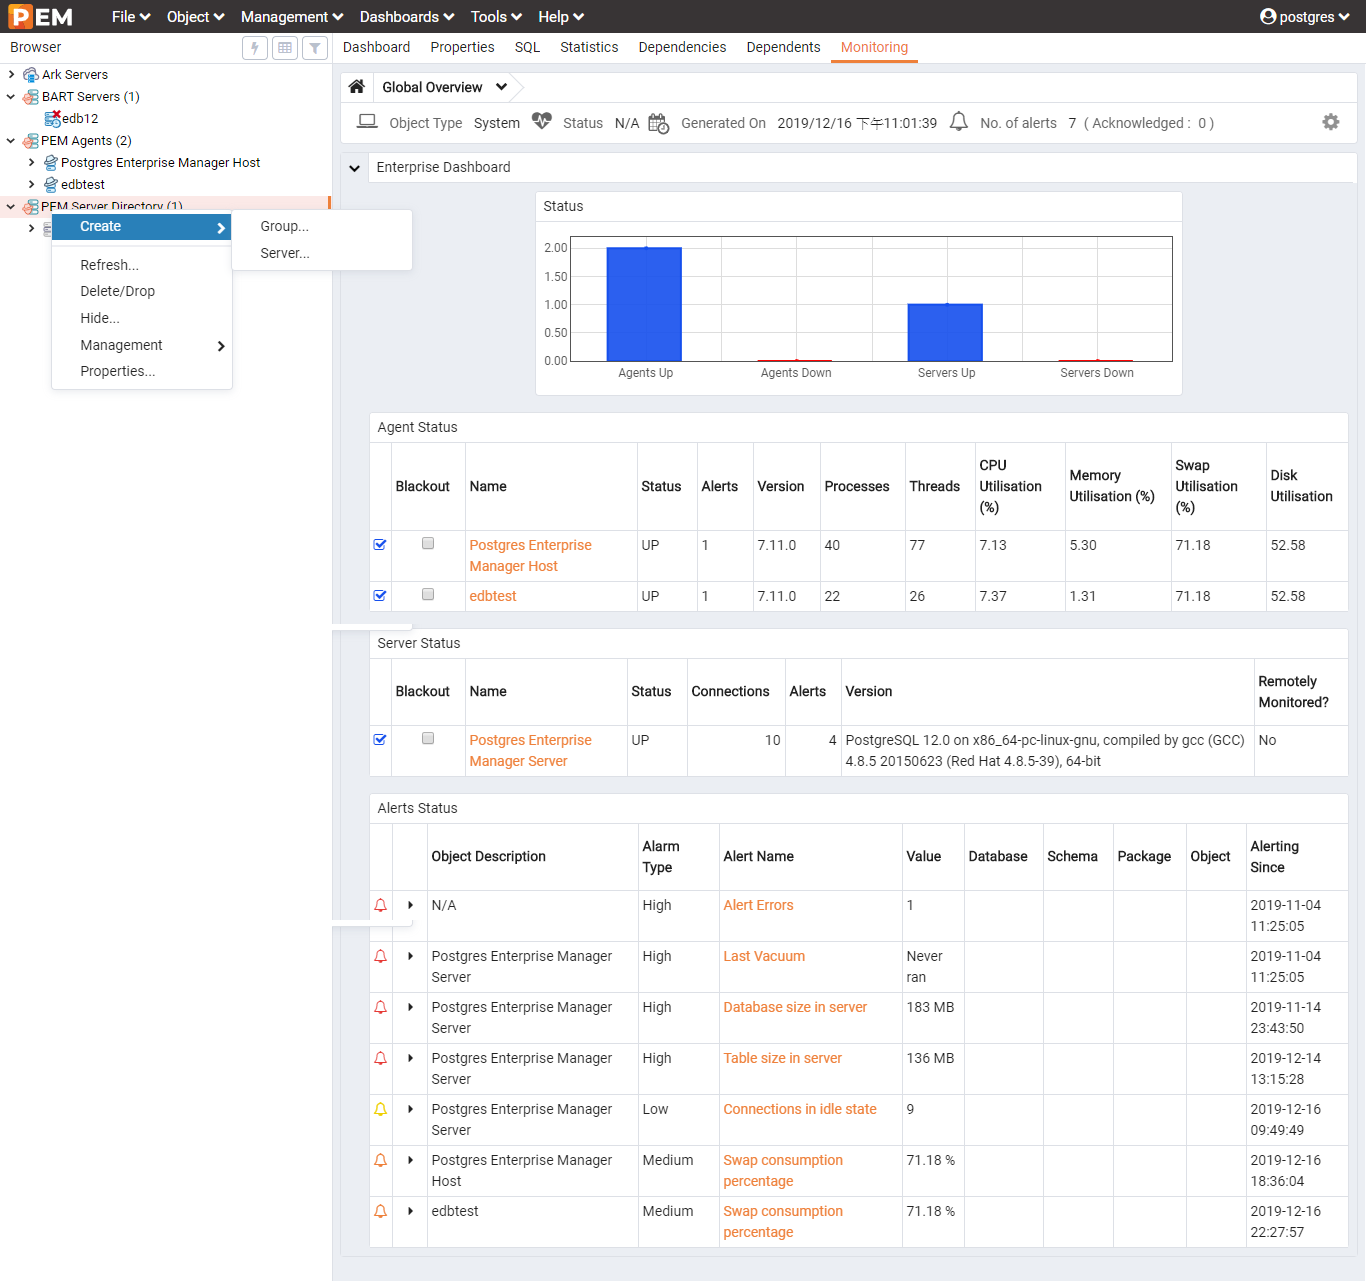
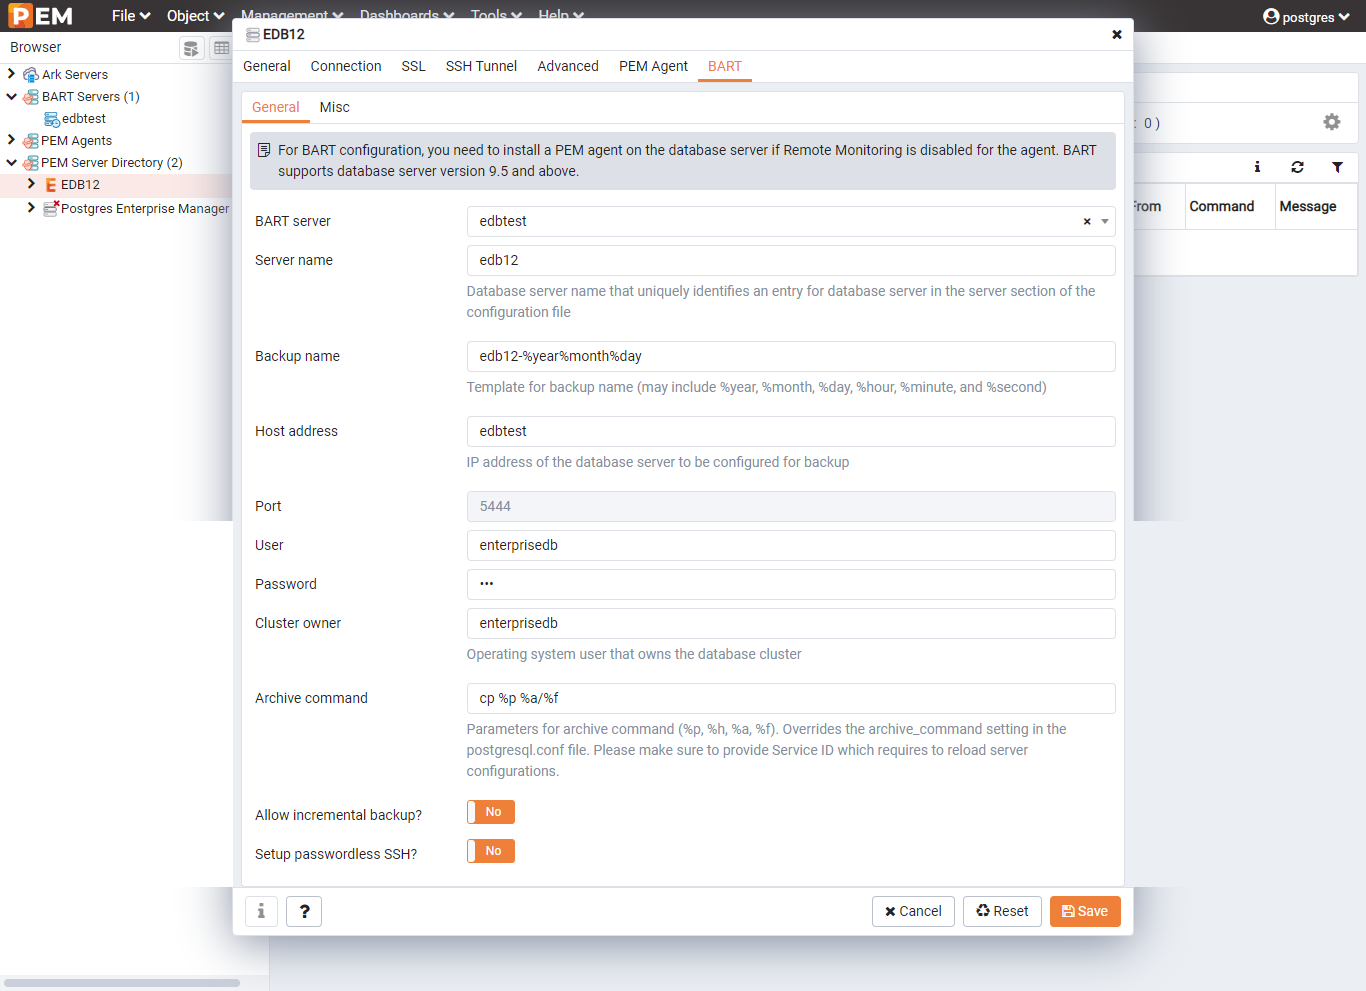
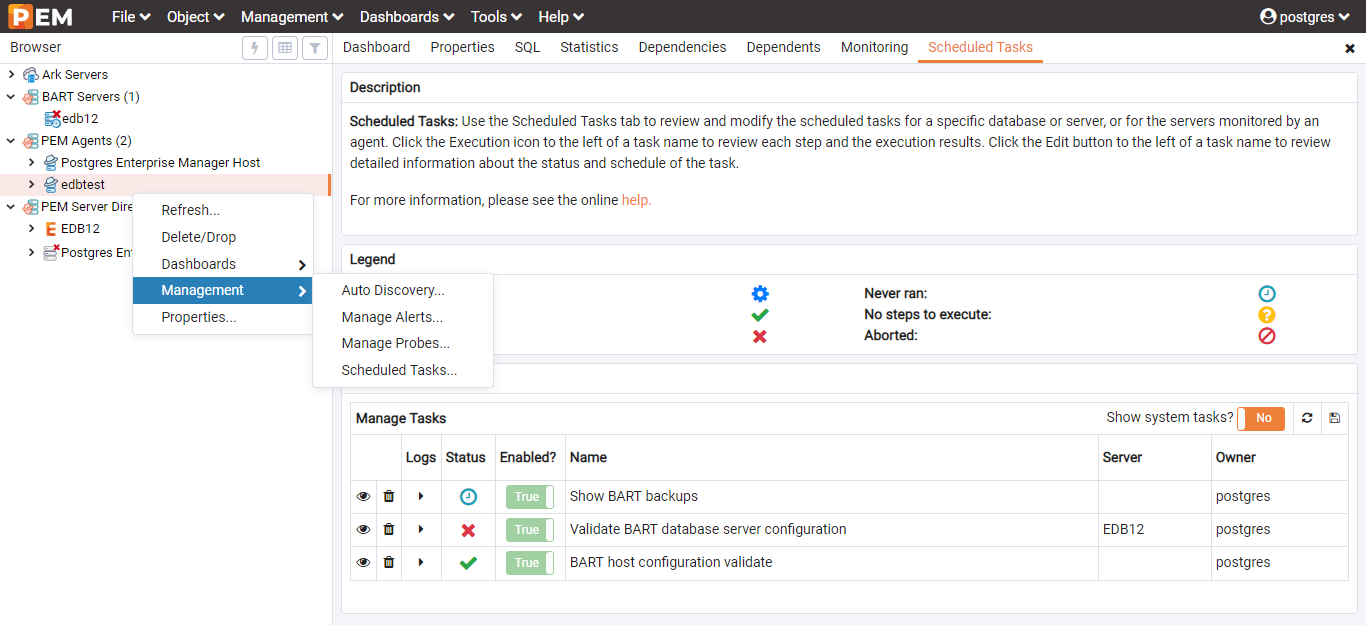
接著進入 PEM 的頁面,在左邊的 VBART Server 點右鍵,新增備份服務:
設定 BART 服務,第一頁基本上即 bart.cfg 的第一小節


設置 Server 連線,裡面有 bart.cfg 的另一個小節設定內容

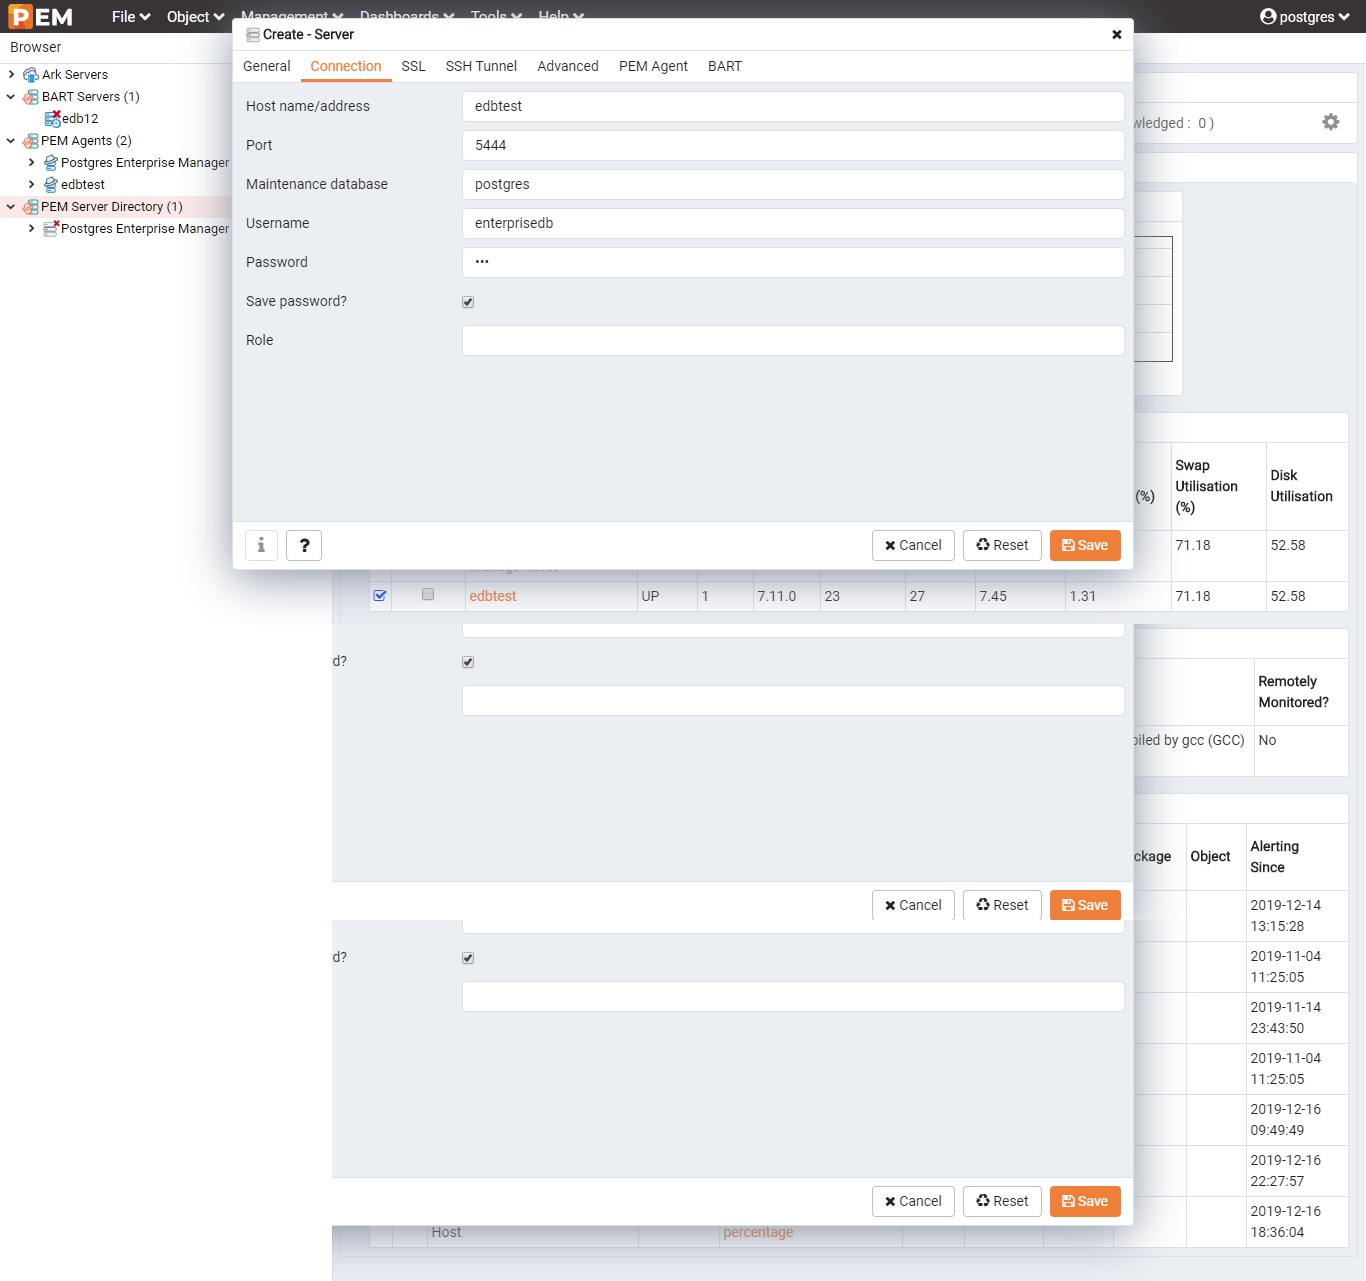
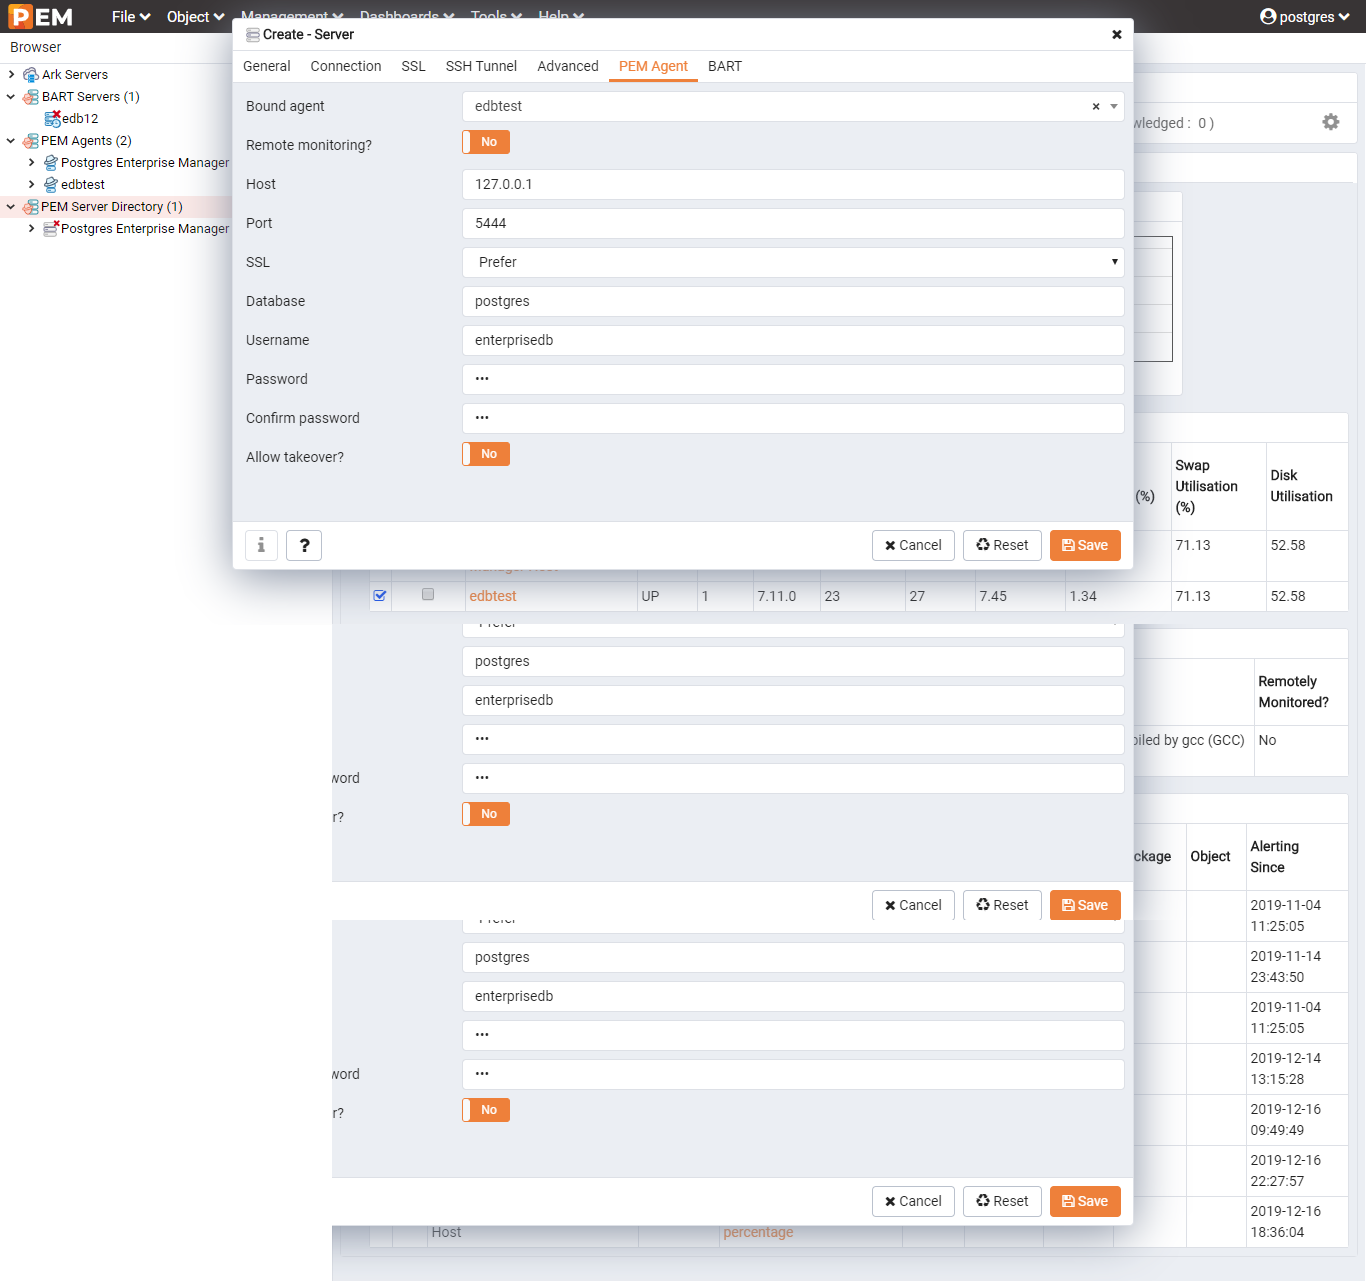
此外, archive_command 使用一般的 cp/scp,在指定 Wal Compression 之後,便會進行

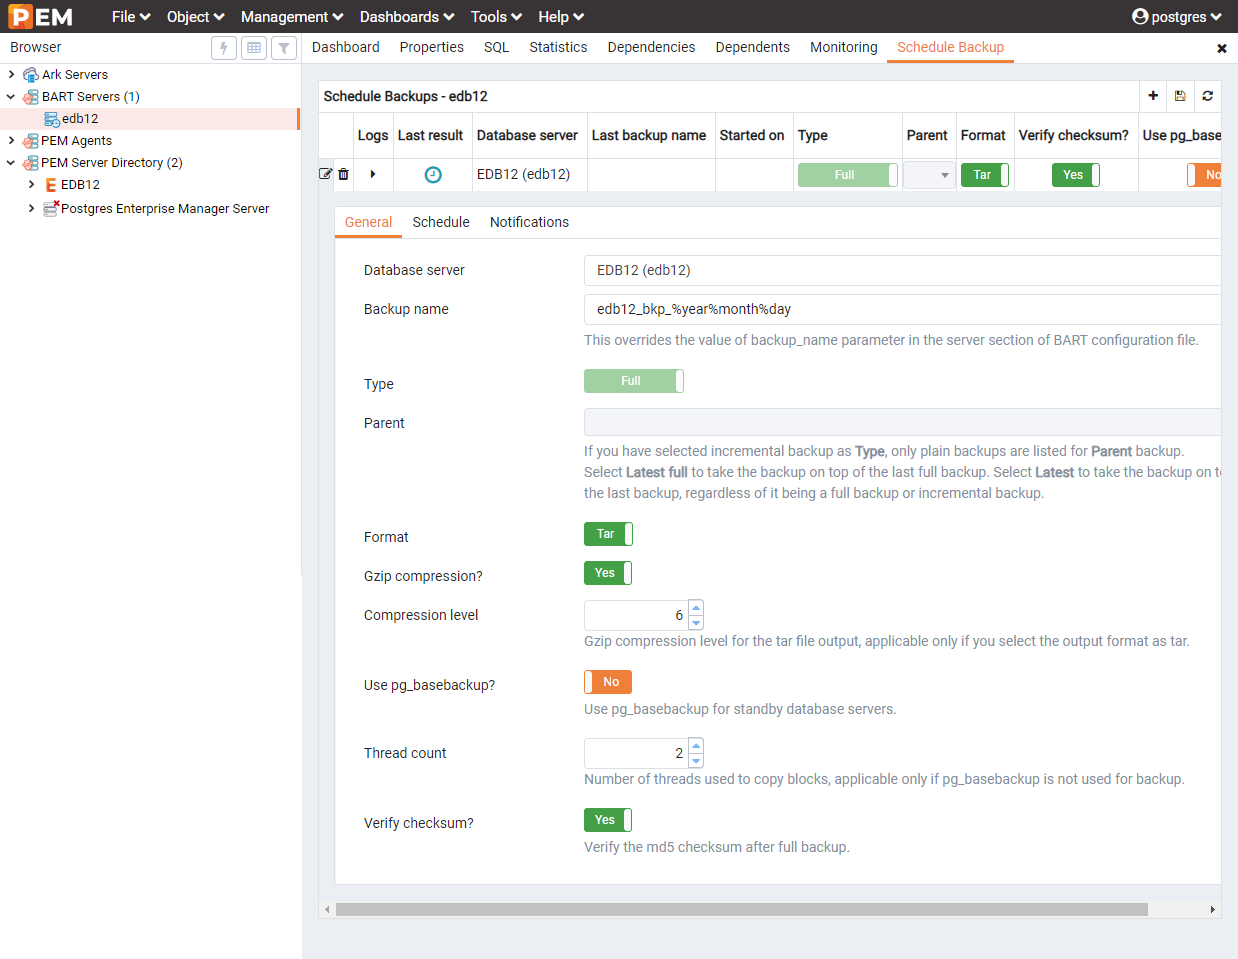
選取 Tools → Schedule Backup


然後回到指令界面,設置後的 bart.cfg 位在 pem agent 目錄下
[root@edbtest ~]# find /usr/edb/ -name bart.cfg
/usr/edb/pem/agent/etc/bart.cfg
[root@edbtest ~]#
雖然圖形界面設置完畢了,但還是需要進入指令界面進行手動初始化
-bash-4.2$ bart -c /usr/edb/pem/agent/etc/bart.cfg init -s all -o
INFO:  connection to the server failed: fe_sendauth: no password supplied

WARNING: could not set archive_mode/archive_command, server 'edb12' might be down
-bash-4.2$
-bash-4.2$ vi ~/.pgpass
-bash-4.2$ bart -c /usr/edb/pem/agent/etc/bart.cfg init -s all -o
INFO:  setting archive_mode/archive_command for server 'edb12'
WARNING: archive_mode/archive_command is set. Restart the PostgreSQL server using 'pg_ctl restart'
-bash-4.2$
然後重新啟動資料庫就設置完成了。
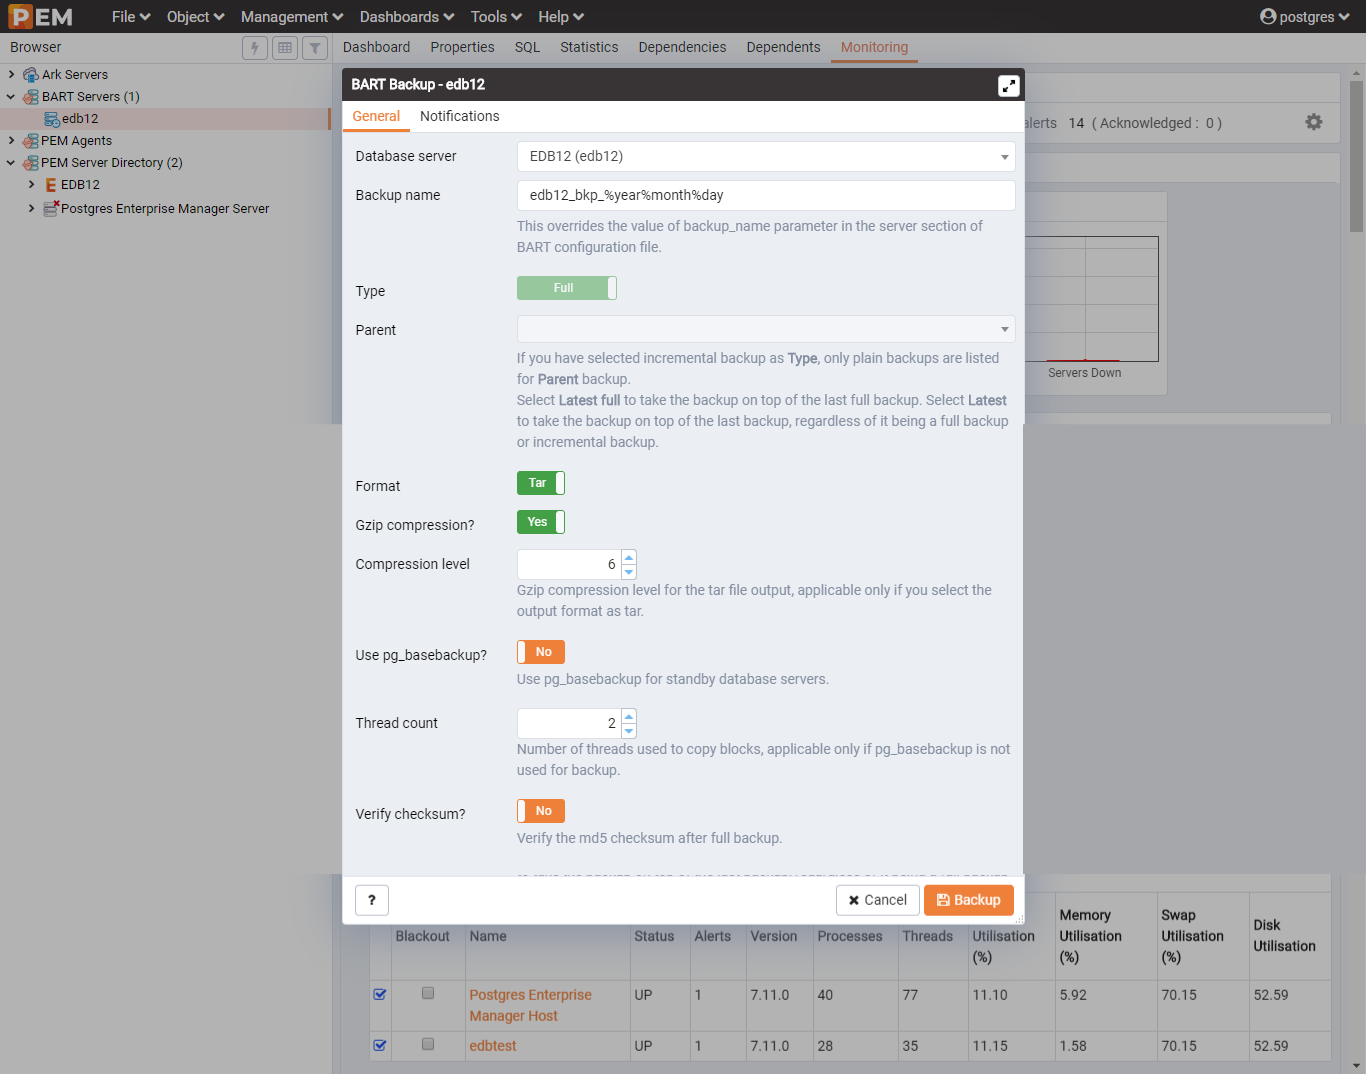
手動備份測試
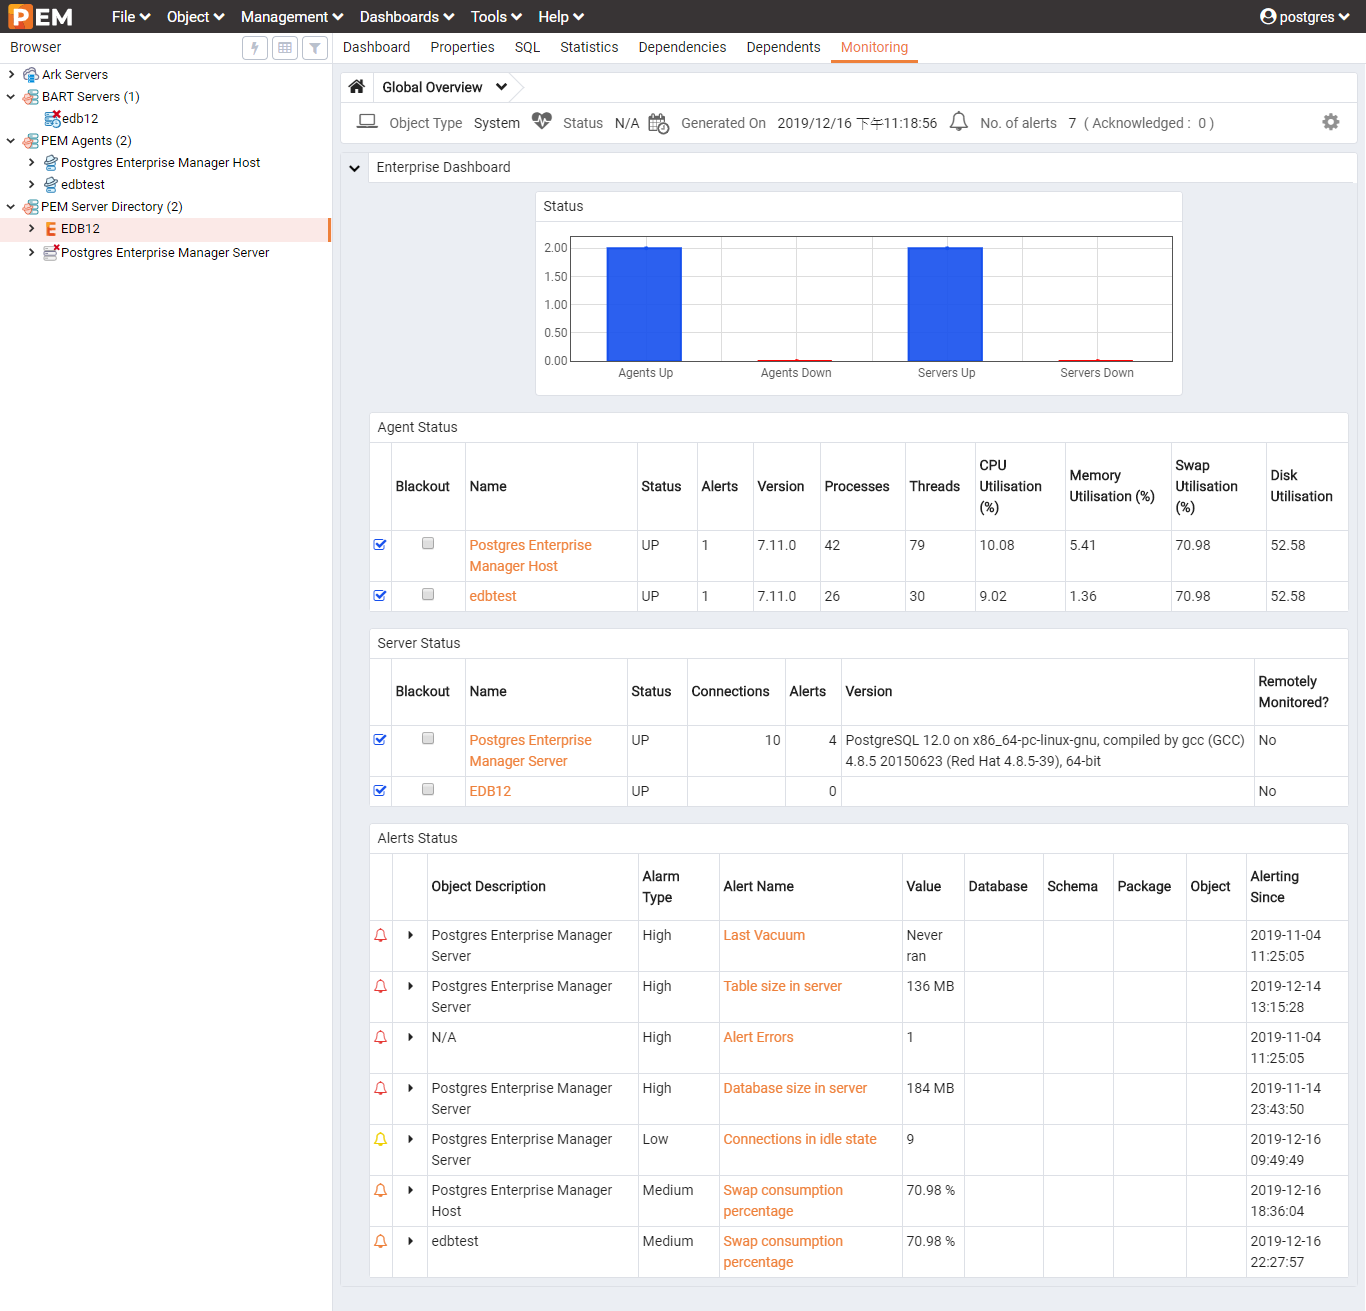
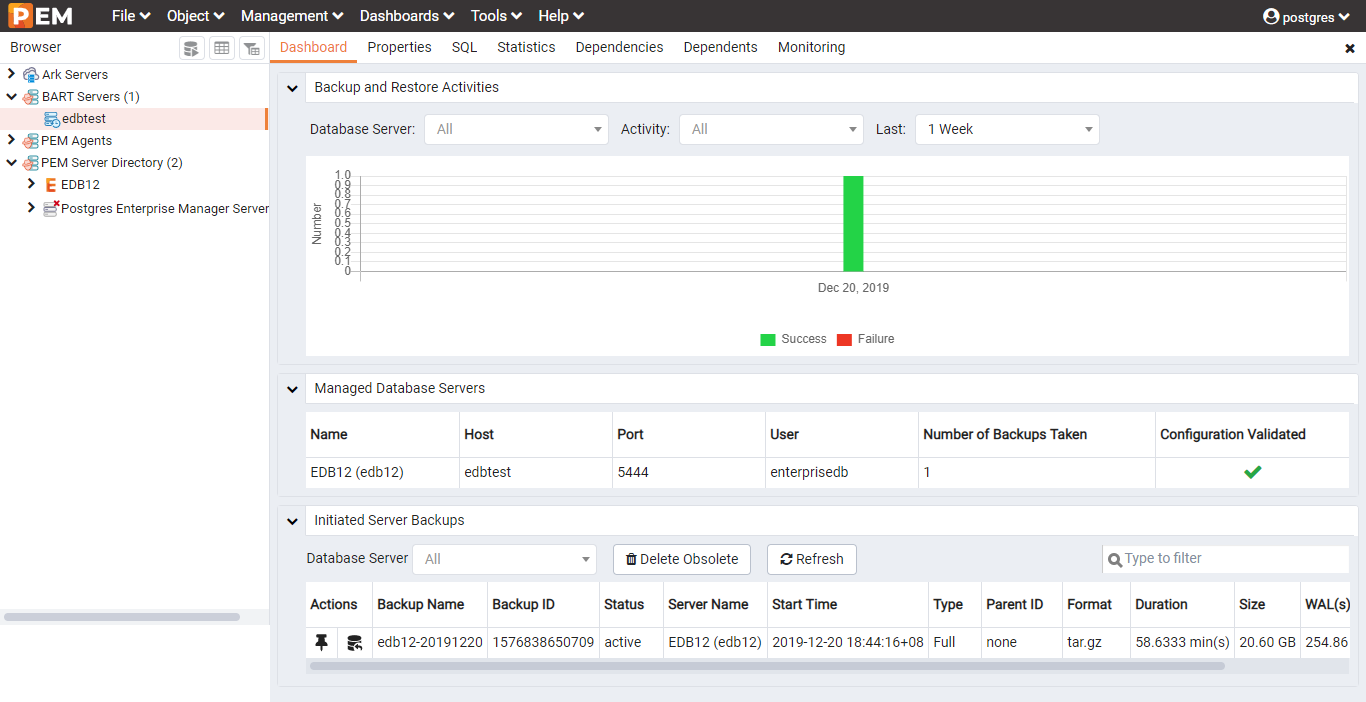
備份完成後,紀錄會顯示在監控頁面上
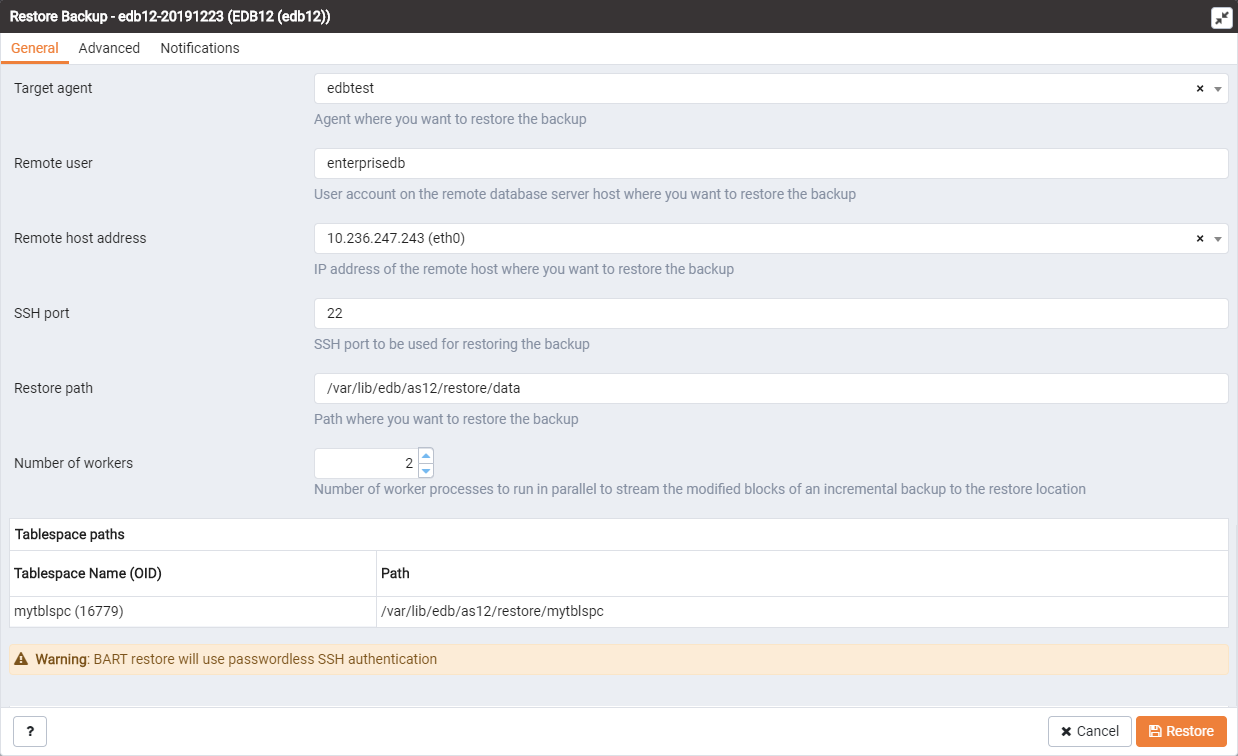
還原演練:本處將資料倒到同一台環境的 /var/lib/edb/as12/restore/ 目錄裡面;此外,本處有設置一個 Tablespace,將會一同進行還原(要記得另外指定路徑!!)
在此之前,需要先預備好路徑
[root@edbtest ~]# mkdir -p /var/lib/edb/as12/restore
[root@edbtest ~]# chown -R enterprisedb. /var/lib/edb/as12/restore
然後在圖形界面,選定備份檔設定還原
-bash-4.2$ ls ~/as12/restore/data/
PG_VERSION        log            pg_multixact  pg_stat_tmp  postgresql.auto.conf
backup_label      pg_commit_ts   pg_notify     pg_subtrans  postgresql.conf
base              pg_dynshmem    pg_replslot   pg_tblspc    tablespace_map
current_logfiles  pg_hba.conf    pg_serial     pg_twophase
dbms_pipe         pg_ident.conf  pg_snapshots  pg_wal
global            pg_logical     pg_stat       pg_xact
-bash-4.2$ ls ~/as12/restore/mytblspc/
PG_12_201909212
-bash-4.2$
-bash-4.2$ mv ~/as12/restore/data/postgresql.auto.conf ~/as12/restore/data/postgresql.auto.conf.old
-bash-4.2$ echo "port=5433" >> ~/as12/restore/data/postgresql.auto.conf
-bash-4.2$ pg_ctl -D ~/as12/restore/data/ start
waiting for server to start....2019-12-28 02:59:15 UTC LOG:  starting PostgreSQL 12.1 (EnterpriseDB Advanced Server 12.1.2) on x86_64-pc-linux-gnu, compiled by gcc (GCC) 4.8.5 20150623 (Red Hat 4.8.5-36), 64-bit
2019-12-28 02:59:15 UTC LOG:  listening on IPv4 address "0.0.0.0", port 5433
2019-12-28 02:59:15 UTC LOG:  listening on IPv6 address "::", port 5433
2019-12-28 02:59:15 UTC LOG:  listening on Unix socket "/tmp/.s.PGSQL.5433"
2019-12-28 02:59:15 UTC LOG:  redirecting log output to logging collector process
2019-12-28 02:59:15 UTC HINT:  Future log output will appear in directory "log".
.... done
server started
-bash-4.2$
測試完畢後,就可以刪掉了
-bash-4.2$ pg_ctl -D ~/as12/restore/data/ stop
waiting for server to shut down.... done
server stopped
-bash-4.2$
-bash-4.2$ rm ~/as12/restore/ -rf
rm: cannot remove '/var/lib/edb/as12/restore/data': Permission denied
rm: cannot remove '/var/lib/edb/as12/restore/mytblspc': Permission denied
-bash-4.2$
-bash-4.2$ ls -l ~/as12/
total 80
drwx------  3 enterprisedb enterprisedb  4096 Dec 16 15:16 backups
-rw-r--r--  1 enterprisedb enterprisedb 49875 Dec 28 02:53 bart.log
drwx------ 21 enterprisedb enterprisedb  4096 Dec 28 00:00 data
-rw-------  1 enterprisedb enterprisedb  4832 Dec 16 09:50 initdb.log
drwx------  3 enterprisedb enterprisedb  4096 Dec 21 03:25 mytblspc
drwxr-xr-x  4 root         root          4096 Dec 27 10:20 restore
-bash-4.2$
-bash-4.2$ ls -l ~/as12/restore/
total 8
drwx------ 2 enterprisedb root 4096 Dec 28 03:00 data
drwx------ 2 enterprisedb root 4096 Dec 28 03:00 mytblspc
-bash-4.2$
[root@edbtest ~]# chown -R enterprisedb. /var/lib/edb/as12/
[root@edbtest ~]# su - enterprisedb
-bash-4.2$ rm ~/as12/restore/ -rf
有了這個整合功能,日常使用上就更加便利了~~
參考資料
之前的相關 EDB BART 筆記
EnterpriseDB integrates Backup and Recovery tools with Postgres Enterprise Manager for superior database management | EnterpriseDB
沒有留言:
張貼留言