PEM Server 基本上是 pgAdmin4 的衍生產品,會有一個後端的 PostgreSQL 資料庫收集已註冊的 PostgreSQL 資料庫監控資訊。需要受到 PEM Server 監控。安裝上分成 Server 本身以及受監控的資料庫主機需要 Agent。
相對於開源的監控工具,PEM Server 具備許多額外的功能,以滿足諸多應用需求~
PEM Server 主要是以網頁界面呈現,主要支援的瀏覽器是 Firefox 與 Chrome/Chromium。
軟體安裝檔下載試用:請至 EnterpriseDB 下載頁面取得:只要註冊免費會員即可下載。
這裡方便紀錄起見,使用指令界面進行安裝:還可以複製貼上~
首先先把 SELinux 停止:這裡只有暫時停用,以便安裝
[aaa@pem7-server ~]$ sudo setenforce 0
[aaa@pem7-server ~]$
解開需要的安裝檔:使用圖形安裝的話就不需要此步驟
[aaa@pem7-server ~]$ sudo ./pem-server-7.2.0-1-linux-x64.run --extract-dependents ./
[aaa@pem7-server ~]$ ls
edb-languagepack-10-3-linux-x64.run  pem-server-7.2.0-1-linux-x64.run
pem-httpd-2.4.29-1-linux-x64.run     postgresql-10.2-1-linux-x64.run
[aaa@pem7-server ~]$
然後依序安裝:
PostgreSQL:這裡進行的是基本安裝,沒安裝 GUI 相關的部份
[aaa@pem7-server ~]$ sudo ./postgresql-10.2-1-linux-x64.run --mode text
----------------------------------------------------------------------------
Welcome to the PostgreSQL Setup Wizard.

----------------------------------------------------------------------------
Please specify the directory where PostgreSQL will be installed.

Installation Directory [/opt/PostgreSQL/10]: ↵

----------------------------------------------------------------------------
Select the components you want to install; clear the components you do not want
to install. Click Next when you are ready to continue.

PostgreSQL Server [Y/n] :Y

pgAdmin 4 [Y/n] :n

Stack Builder [Y/n] :n

Command Line Tools [Y/n] :Y

Is the selection above correct? [Y/n]: Y

----------------------------------------------------------------------------
Please select a directory under which to store your data.

Data Directory [/opt/PostgreSQL/10/data]: /var/lib/postgres/10/data

----------------------------------------------------------------------------
Please provide a password for the database superuser (postgres). A locked Unix
user account (postgres) will be created if not present.

Password : 輸入要設定的DB Superuser密碼
Retype password : 重複輸入要設定的DB Superuser密碼
----------------------------------------------------------------------------
Please select the port number the server should listen on.

Port [5432]: ↵

----------------------------------------------------------------------------
Advanced Options

Select the locale to be used by the new database cluster.

Locale

[1] [Default locale]
[2] aa_DJ
[3] aa_DJ.iso88591
[4] aa_DJ.utf8
...
[768] zh_SG.utf8
[769] zh_TW.euctw
[770] zh_TW.utf8
[771] zu_ZA
[772] zu_ZA.iso88591
[773] zu_ZA.utf8
Please choose an option [1] : 770

----------------------------------------------------------------------------
Pre Installation Summary

The following settings will be used for the installation::

Installation Directory: /opt/PostgreSQL/10
Server Installation Directory: /opt/PostgreSQL/10
Data Directory: /var/lib/postgres/10/data
Database Port: 5432
Database Superuser: postgres
Operating System Account: postgres
Database Service: postgresql-10
Command Line Tools Installation Directory: /opt/PostgreSQL/10

Press [Enter] to continue: ↵

----------------------------------------------------------------------------
Setup is now ready to begin installing PostgreSQL on your computer.

Do you want to continue? [Y/n]: Y

----------------------------------------------------------------------------
Please wait while Setup installs PostgreSQL on your computer.

 Installing
 0% ______________ 50% ______________ 100%
 #########################################

----------------------------------------------------------------------------
Setup has finished installing PostgreSQL on your computer.

[aaa@pem7-server ~]$
LanguagePack:這裡我示範的,是將 LanguagePack 跟 PostgreSQL 安裝順序對調(原本是先裝 LanguagePack),此時需要額外填寫參數才行
[aaa@pem7-server ~]$ sudo ./edb-languagepack-10-3-linux-x64.run --mode text
Language Selection

Please select the installation language
[1] English - English
Please choose an option [1] : ↵
----------------------------------------------------------------------------
Welcome to the Language Pack Setup Wizard.

----------------------------------------------------------------------------
Setup is now ready to begin installing on your computer.

/opt/edb/languagepack-10

Do you want to continue? [Y/n]: ↵

----------------------------------------------------------------------------
Please wait while Setup installs Language Pack on your computer.

 Installing Language Pack
 0% ______________ 50% ______________ 100%
 #########################################

----------------------------------------------------------------------------
EnterpriseDB is the leading provider of value-added products and services for
the Postgres community.

Please visit our website at www.enterprisedb.com

[aaa@pem7-server ~]$
[aaa@pem7-server ~]$ sudo sed -e 's@PERL_INSTALL_PATH@/opt/edb/languagepack-10/Perl-5.24/@g' \
 -e 's@PYTHON_INSTALL_PATH@/opt/edb/languagepack-10/Python-3.4/@g' \
 -e 's@TCL_INSTALL_PATH@/opt/edb/languagepack-10/Tcl-8.6/@g' \
 -i /opt/PostgreSQL/10/etc/sysconfig/plLanguages.config
[aaa@pem7-server ~]$
[aaa@pem7-server ~]$ sudo service postgresql-10 restart
Redirecting to /bin/systemctl restart postgresql-10.service
[aaa@pem7-server ~]$
EDB 訂製的 HTTP Server
[aaa@pem7-server ~]$ sudo ./pem-httpd-2.4.29-1-linux-x64.run --mode text
----------------------------------------------------------------------------
Welcome to the PEM-HTTPD Setup Wizard.

----------------------------------------------------------------------------
Please specify the directory where PEM-HTTPD will be installed.

Installation Directory [/opt/edb/pem/httpd]: ↵

----------------------------------------------------------------------------
Apache Server Details

Please specify a port on which Apache will run

Apache Port [8080]: ↵

----------------------------------------------------------------------------
Setup is now ready to begin installing PEM-HTTPD on your computer.

Do you want to continue? [Y/n]: ↵

----------------------------------------------------------------------------
Please wait while Setup installs PEM-HTTPD on your computer.

 Installing PEM-HTTPD
 0% ______________ 50% ______________ 100%
 #########################################

----------------------------------------------------------------------------
EnterpriseDB is the leading provider of value-added products and services for
the Postgres community.

Please visit our website at www.enterprisedb.com

[aaa@pem7-server ~]$
最後是 PEM Server 本身。中間步驟有兩點要注意:
a. 需要填寫 EDB 免費會員的帳號密碼
b. 需要指定被接管的資料庫的子網域範圍,使用 CIDR 的撰寫方式(如同 pg_hba.conf 的設置);由於這裡的環境有內外網之分,這裡填寫內網網段
[aaa@pem7-server ~]$ sudo ./pem-server-7.2.0-1-linux-x64.run --mode text
----------------------------------------------------------------------------
Welcome to the Postgres Enterprise Manager (PEM) Server Setup Wizard.

----------------------------------------------------------------------------
Please read the following License Agreement. You must accept the terms of this
agreement before continuing with the installation.

Press [Enter] to continue:
Limited Use Software License Agreement
Version 2.9

IMPORTANT - READ CAREFULLY

This Limited Use Software License Agreement ("Agreement") is a legal document
between you ("Customer") and EnterpriseDB Corporation ("EnterpriseDB").
...
Press [Enter] to continue: ↵
Do you accept this license? [y/n]: y

----------------------------------------------------------------------------
EnterpriseDB User Account Information

Please enter the email address and password for your enterprisedb.com user
account.


Email address []: 註冊EnterpriseDB免費帳號的信箱

Password : EnterpriseDB免費帳號的密碼

----------------------------------------------------------------------------
Installation Directory

Please select a directory for the PEM server installation.

Installation Directory [/opt/edb/pem]: ↵


Show &advanced options [y/N]: y


----------------------------------------------------------------------------
Advanced options

Select installation type

[1] Web Services and Database
[2] Web Services
[3] Database
Please choose an option [1] : ↵

----------------------------------------------------------------------------
Database Server Selection

Select the database server.

The database servers below may be used by Postgres Enterprise Manager for its data store.

[1] PostgreSQL 10 on Port 5432
[2] Other Database Server
Please choose an option [1] : ↵

----------------------------------------------------------------------------
Database Server Installation Details

Please specify user and password for the local server - 'PostgreSQL 10'
installation running on port 5432.

User [postgres]: ↵

Password : 剛剛裝的資料庫 Superuser 密碼

----------------------------------------------------------------------------
Network Details

Please enter the CIDR formatted network address range that agents will connect
to the server from, to be added to the server's pg_hba.conf file. For example,
192.168.1.0/24.

Network address [127.0.0.1/32]: 10.128.0.2/24

----------------------------------------------------------------------------
Agent Details.

Please specify a description for the agent.

Description. [Postgres Enterprise Manager Host]: ↵

Agent certificate path [/root/.pem]: ↵

----------------------------------------------------------------------------
Setup is now ready to begin installing the PEM server on your computer.

Do you want to continue? [Y/n]: Y

----------------------------------------------------------------------------
Please wait while Setup installs the PEM server on your computer.

 Installing
 0% ______________ 50% ______________ 100%
 #########################################

Info: Configured the webservice for Postgres Enterprise Manager (PEM) Server on
port '8443'.
Created and configured the 'pem' database.
Press [Enter] to continue: ↵
----------------------------------------------------------------------------
EnterpriseDB is the leading provider of value-added products and services for
the Postgres community.

Please visit our website at www.enterprisedb.com

[aaa@pem7-server ~]$
裝完後,查看一下系統服務狀況
[aaa@pem7-server ~]$ ps aux|grep pem
root      3529  0.0  0.0  26388   500 ?        S    03:30   0:00 /opt/edb/pem/agent/bin/pemagent -c /opt/edb/pem/agent/etc/agent.cfg
root      3530  0.2  0.4 674792  7568 ?        Sl   03:30   0:00 /opt/edb/pem/agent/bin/pemworker -c /opt/edb/pem/agent/etc/agent.cfg --pid 3529
postgres  3542  0.8  2.3 369284 40280 ?        Ss   03:30   0:01 postgres: agent1 pem 127.0.0.1(38982) idle
postgres  3544  0.0  0.3 352412  6200 ?        Ss   03:30   0:00 postgres: agent1 pem 127.0.0.1(38984) idle
postgres  3545  0.0  0.3 352416  6204 ?        Ss   03:30   0:00 postgres: agent1 pem 127.0.0.1(38986) idle
postgres  3546  0.0  0.3 352416  6212 ?        Ss   03:30   0:00 postgres: agent1 pem 127.0.0.1(38988) idle
postgres  3547  0.3  2.7 392612 47816 ?        Ss   03:30   0:00 postgres: agent1 pem 127.0.0.1(38990) idle
root      3583  0.0  0.2 100204  4248 ?        Ss   03:30   0:00 /opt/edb/pem/httpd/apache/bin/httpd -k start -f /opt/edb/pem/httpd/apache/conf/httpd.conf
pem       3584  0.0  0.3 558876  6708 ?        Sl   03:30   0:00 EDBPEM                              -k start -f /opt/edb/pem/httpd/apache/conf/httpd.conf
daemon    3585  0.0  0.5 495372  9092 ?        Sl   03:30   0:00 /opt/edb/pem/httpd/apache/bin/httpd -k start -f /opt/edb/pem/httpd/apache/conf/httpd.conf
daemon    3586  0.0  0.5 495292  9064 ?        Sl   03:30   0:00 /opt/edb/pem/httpd/apache/bin/httpd -k start -f /opt/edb/pem/httpd/apache/conf/httpd.conf
daemon    3587  0.0  0.5 495344  9064 ?        Sl   03:30   0:00 /opt/edb/pem/httpd/apache/bin/httpd -k start -f /opt/edb/pem/httpd/apache/conf/httpd.conf
brandon+  4055  0.0  0.0 112660   968 pts/0    R+   03:33   0:00 grep --color=auto pem
[aaa@pem7-server ~]$
[aaa@pem7-server ~]$ netstat -tlunp
(No info could be read for "-p": geteuid()=1000 but you should be root.)
Active Internet connections (only servers)
Proto Recv-Q Send-Q Local Address           Foreign Address         State       PID/Program name
tcp        0      0 0.0.0.0:8080            0.0.0.0:*               LISTEN      -
tcp        0      0 0.0.0.0:22              0.0.0.0:*               LISTEN      -
tcp        0      0 0.0.0.0:5432            0.0.0.0:*               LISTEN      -
tcp        0      0 127.0.0.1:25            0.0.0.0:*               LISTEN      -
tcp6       0      0 :::22                   :::*                    LISTEN      -
tcp6       0      0 :::5432                 :::*                    LISTEN      -
tcp6       0      0 ::1:25                  :::*                    LISTEN      -
tcp6       0      0 :::8443                 :::*                    LISTEN      -
udp        0      0 0.0.0.0:68              0.0.0.0:*                           -
udp        0      0 127.0.0.1:323           0.0.0.0:*                           -
udp        0      0 0.0.0.0:6881            0.0.0.0:*                           -
udp6       0      0 ::1:323                 :::*                                -
udp6       0      0 :::40598                :::*                                -
[aaa@pem7-server ~]$ sudo netstat -tlunp
Active Internet connections (only servers)
Proto Recv-Q Send-Q Local Address           Foreign Address         State       PID/Program name
tcp        0      0 0.0.0.0:8080            0.0.0.0:*               LISTEN      3583/httpd
tcp        0      0 0.0.0.0:22              0.0.0.0:*               LISTEN      875/sshd
tcp        0      0 0.0.0.0:5432            0.0.0.0:*               LISTEN      3385/postgres
tcp        0      0 127.0.0.1:25            0.0.0.0:*               LISTEN      947/master
tcp6       0      0 :::22                   :::*                    LISTEN      875/sshd
tcp6       0      0 :::5432                 :::*                    LISTEN      3385/postgres
tcp6       0      0 ::1:25                  :::*                    LISTEN      947/master
tcp6       0      0 :::8443                 :::*                    LISTEN      3583/httpd
udp        0      0 0.0.0.0:68              0.0.0.0:*                           548/dhclient
udp        0      0 127.0.0.1:323           0.0.0.0:*                           361/chronyd
udp        0      0 0.0.0.0:6881            0.0.0.0:*                           548/dhclient
udp6       0      0 ::1:323                 :::*                                361/chronyd
udp6       0      0 :::40598                :::*                                548/dhclient
[aaa@pem7-server ~]$
[aaa@pem7-server ~]$ sudo netstat -nap | grep postgres
tcp        0      0 0.0.0.0:5432            0.0.0.0:*               LISTEN      3385/postgres
tcp        0      0 127.0.0.1:5432          127.0.0.1:38986         ESTABLISHED 3545/postgres: agen
tcp        0      0 127.0.0.1:5432          127.0.0.1:38984         ESTABLISHED 3544/postgres: agen
tcp        0      0 127.0.0.1:5432          127.0.0.1:38994         ESTABLISHED 3553/postgres: post
tcp        0      0 127.0.0.1:5432          127.0.0.1:38990         ESTABLISHED 3547/postgres: agen
tcp        0      0 127.0.0.1:5432          127.0.0.1:38982         ESTABLISHED 3542/postgres: agen
tcp        0      0 127.0.0.1:5432          127.0.0.1:38988         ESTABLISHED 3546/postgres: agen
tcp6       0      0 :::5432                 :::*                    LISTEN      3385/postgres
udp6       0      0 ::1:35092               ::1:35092               ESTABLISHED 3385/postgres
unix  2      [ ACC ]     STREAM     LISTENING     35788    3385/postgres        /tmp/.s.PGSQL.5432
[aaa@pem7-server ~]$
以上面確認服務已經啟動~
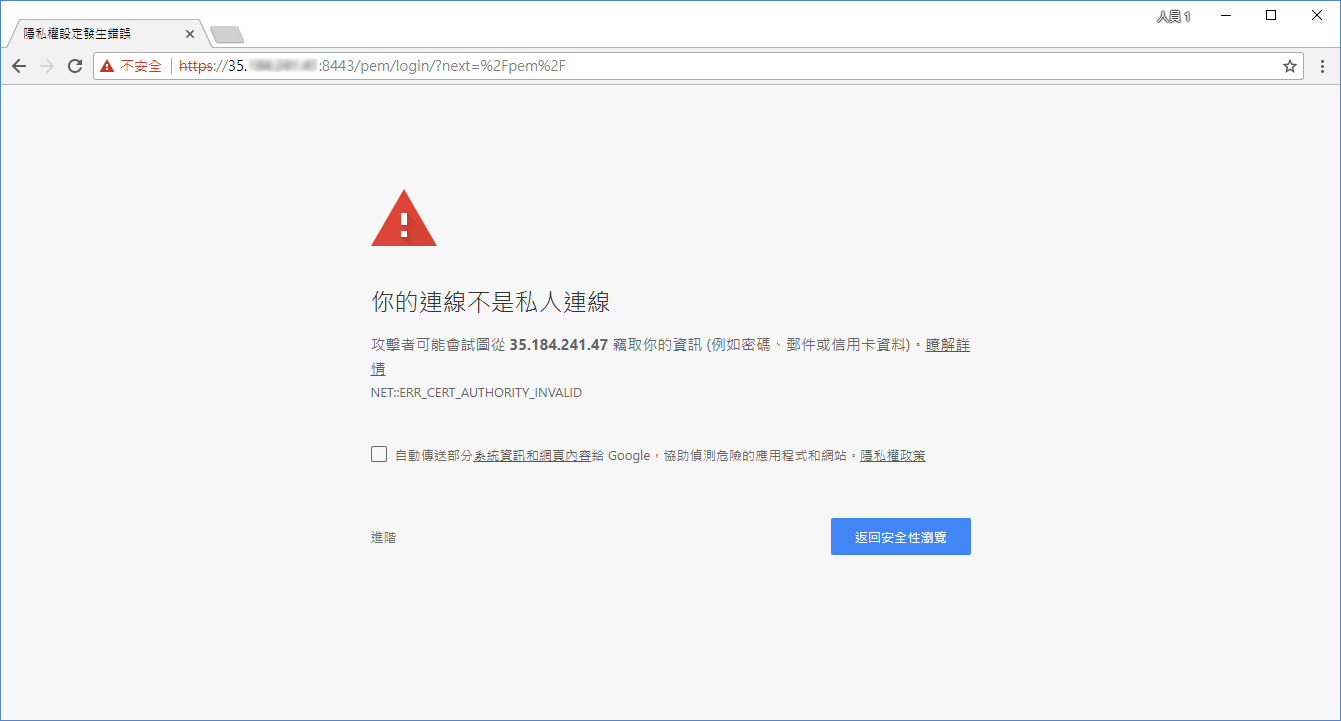
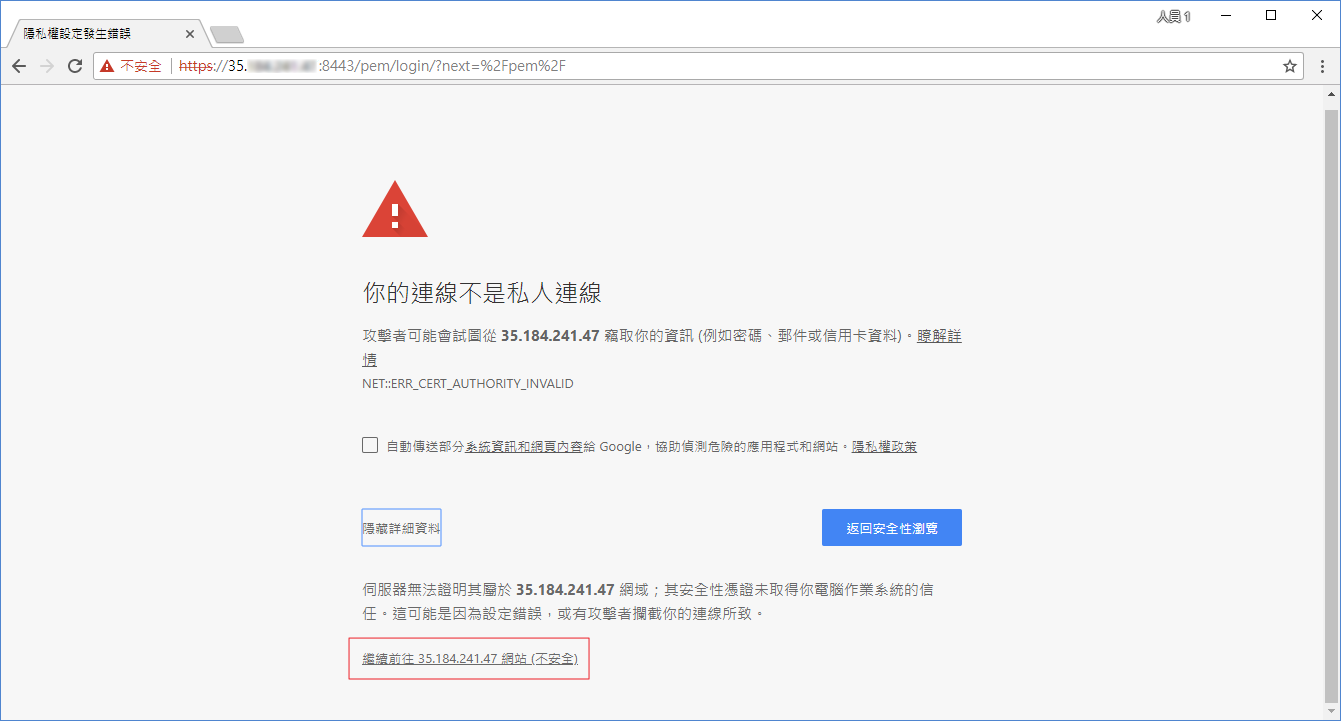
然後,就連線 https://35.xxx.xxx.xxx:8443/pem 。由於這裡用的是自簽署 SSL金鑰,所以會出現下列警示訊息。
登入頁面
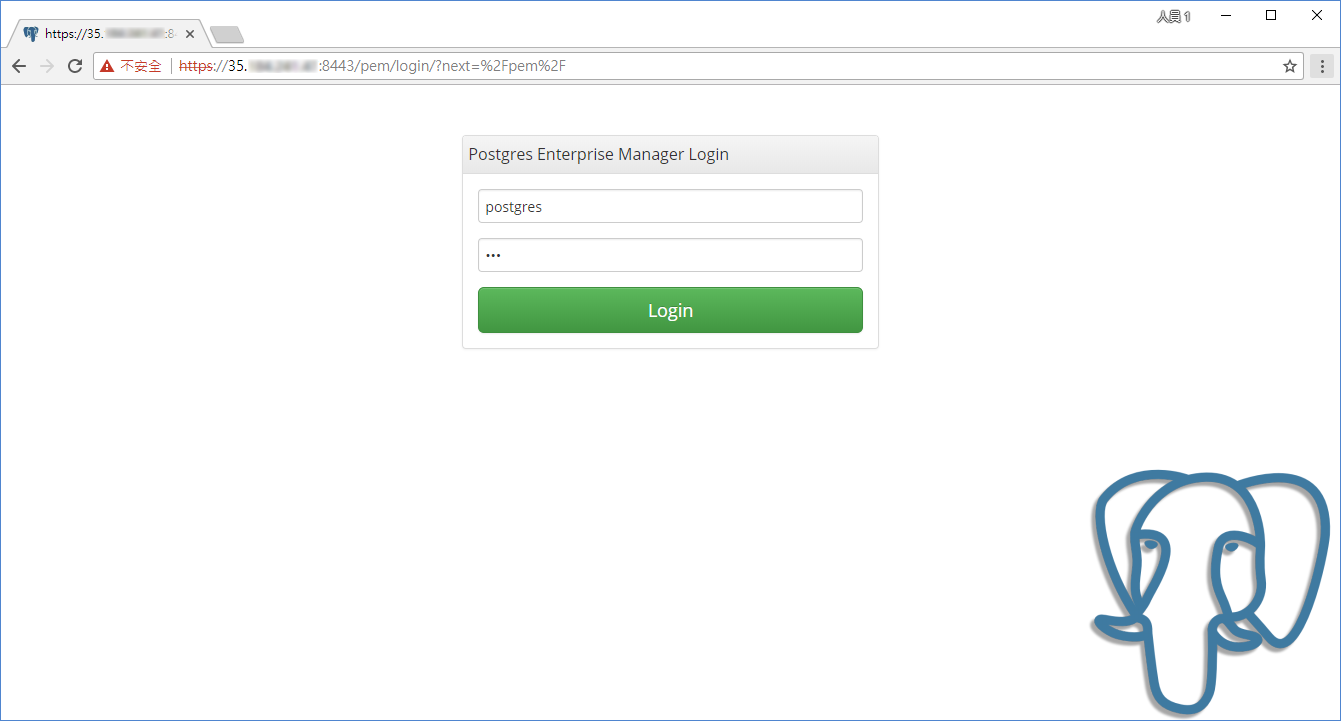

界面基本上跟 pgAdmin4 相同,不過整合了 PEM Server 後端資料庫,提供了帳號管理功能。可以作為整合式的開發界面
試用時間有 60 天,過期之後,便需要輸入金鑰才可以正式使用。金鑰在訂閱 EDB 的服務後都會附上。
小小註解:安裝最小需求需要 1.x GB 的記憶體,在 Google Cloud 安裝,選用米你規格(半顆 CPU 與 600MB)無法安裝,至少要選半顆 CPU 與 1.7GB 才行~
下一篇則是將準備被監控的資料庫加入 PEM Server 的監控。
參考資料
沒有留言:
張貼留言